f. Using a strong thread (beeswax is your friend; it makes the thread move smoothly and protects the fabric), sew down the pleats at the pinned edge. Sew each pleat at least twice.
Note #1: The pleats should be sewn down at the edge only. This is what gives the skirt its distinctive shape. Once it is sewn into place, there will be no gaps showing.
Note #2: Do not remove the gathering thread. In period one or more lines of thread were used to gather the skirt, and left in place to help the pleats hold their shape.
6. How do I fasten the skirt so I can wear it?
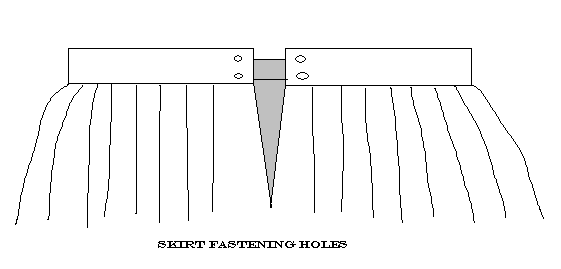
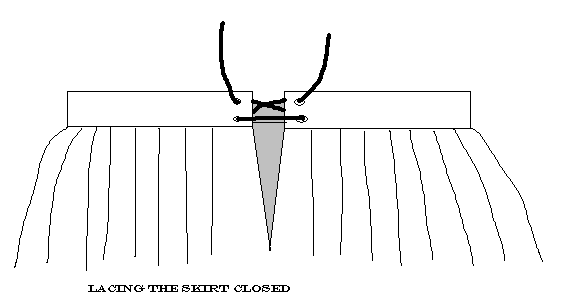
In period, skirts tied together with lacing points. To do it this way, make two buttonhole stitched holes on each waistband end, using an awl and waxed thread (most embroidery books will show you how to make an eyelet or buttonhole stitch - either will do), or use small grommets to make holes (it's better if you stitch around the grommets as well - this will make them stronger and more period-looking). Use laces, points, or ribbons to tie it closed. Dutch and English paintings show that the opening of the skirt was worn in the front or on the side, not the back. If it gaps a little, use a straight pin to hold it closed (Figs. 6 & 7).
|
 |
| Fig. 6 |
|
|
 |
| Fig. 7 |
|
|
If you don't want to do this, use a skirt hook. It's not correct, but it is convenient.
7. And finally, how were skirts decorated?
Skirts were almost always decorated in some way - from a simple band of contrasting fabric or ribbon to elaborate embroidered guards and masses of pearls. For the beginner, I recommend 1-3 bands of simple contrasting trim - you can use bias tape, ribbon, or cut fabric sewn into bands. Once again, stay away from clearly modern materials, like mylar metallic trim, plastic beads/pearls, and appliques. pearling/beading was done in an all-over pattern, not a single motif in the front. Look at pictures to get an idea of how skirts were decorated.
|
|